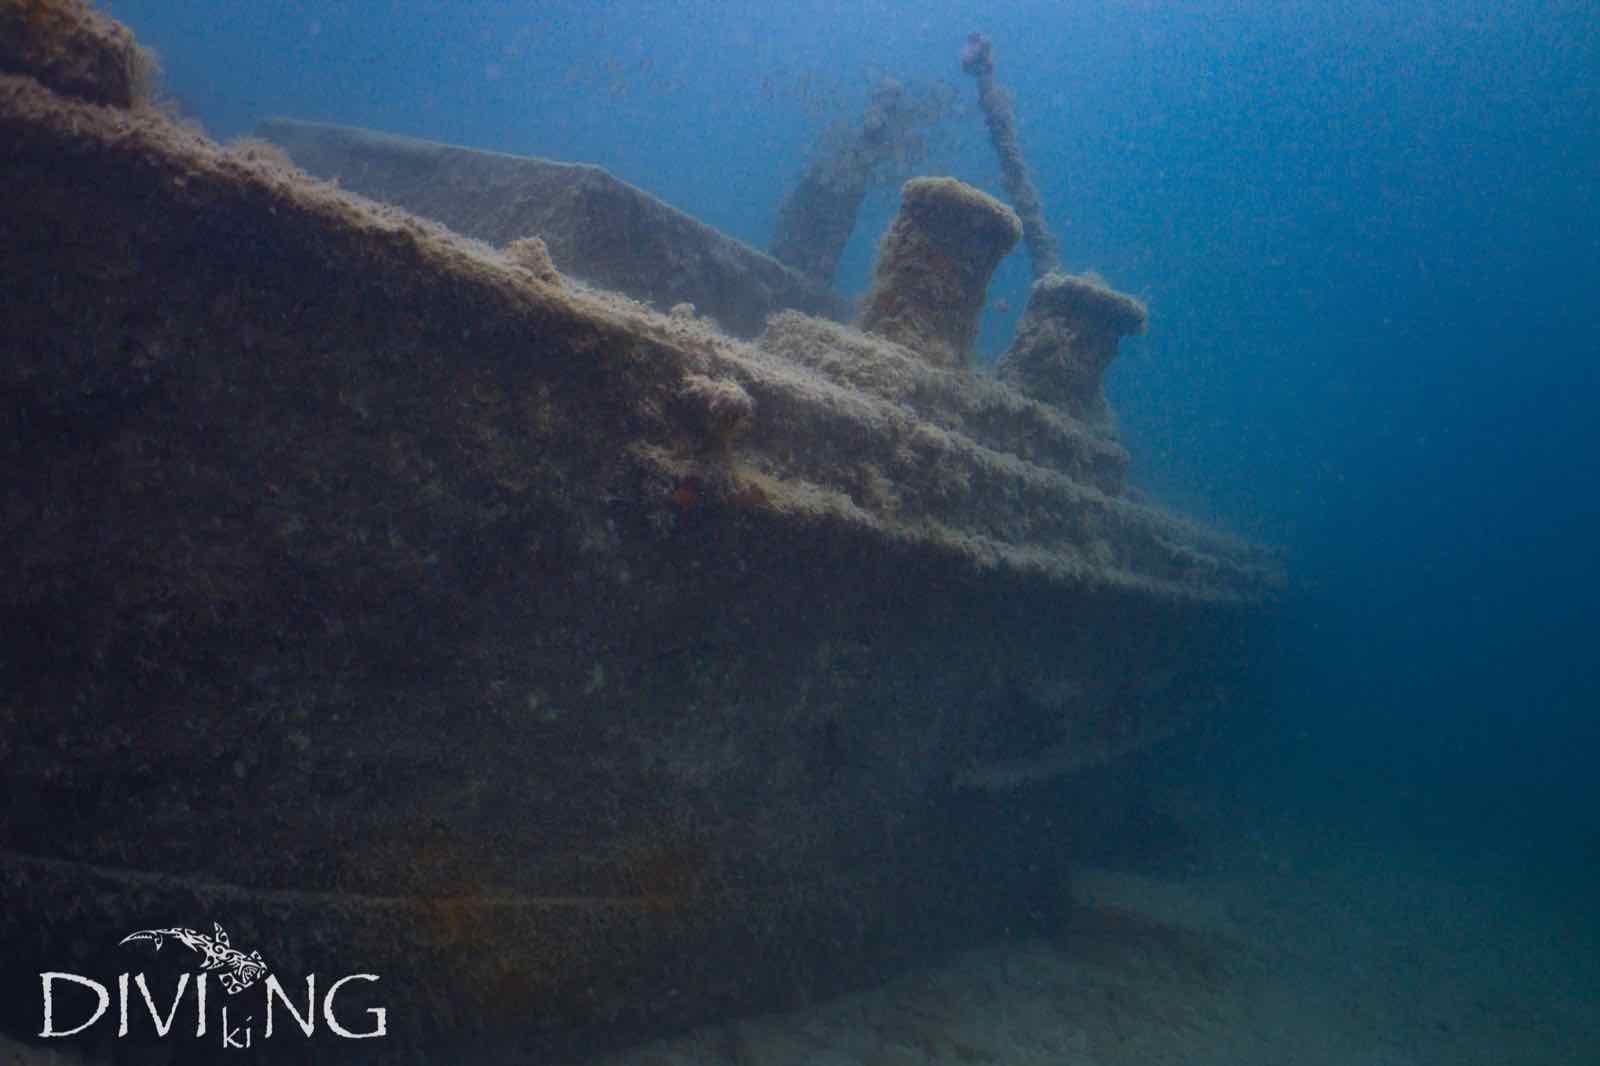
A Royal Navy Tribal-class destroyer lost to Axis bombs on 12 February 1942. The bow section rests below Fort St. Elmo at 14–16 metres: one of Malta's most historically significant wreck dives.
35°54'07"N · 14°31'18"E | Fort St. Elmo, Valletta
The bow section of HMS Maori lies below the towering bastions of Fort St. Elmo, where the waters of Marsamxett Harbour meet the open sea. Approximately 42 metres of hull remain: hull plating intact, the gun deck silted but recognisable, with the forward gun mounts still partially visible. The stern section broke away during a post-war tow in 1945 and was abandoned in deeper water; only the bow is diveable. Unlike many Maltese harbour wrecks, the Maori sits in cleaner, more open water, offering visibility of 10-20 metres. Grouper and barracuda are resident. It is one of very few Maltese wrecks accessible as both a shore and boat dive.
The two twin 4.7″ gun mountings on the foredeck are the most recognisable features of the wreck. The turret rings and partial gun structures are still visible, though the barrels have long since been salvaged. Eighty years of marine growth (sponges, anemones, and encrusting organisms) have softened their outlines into a living tableau.
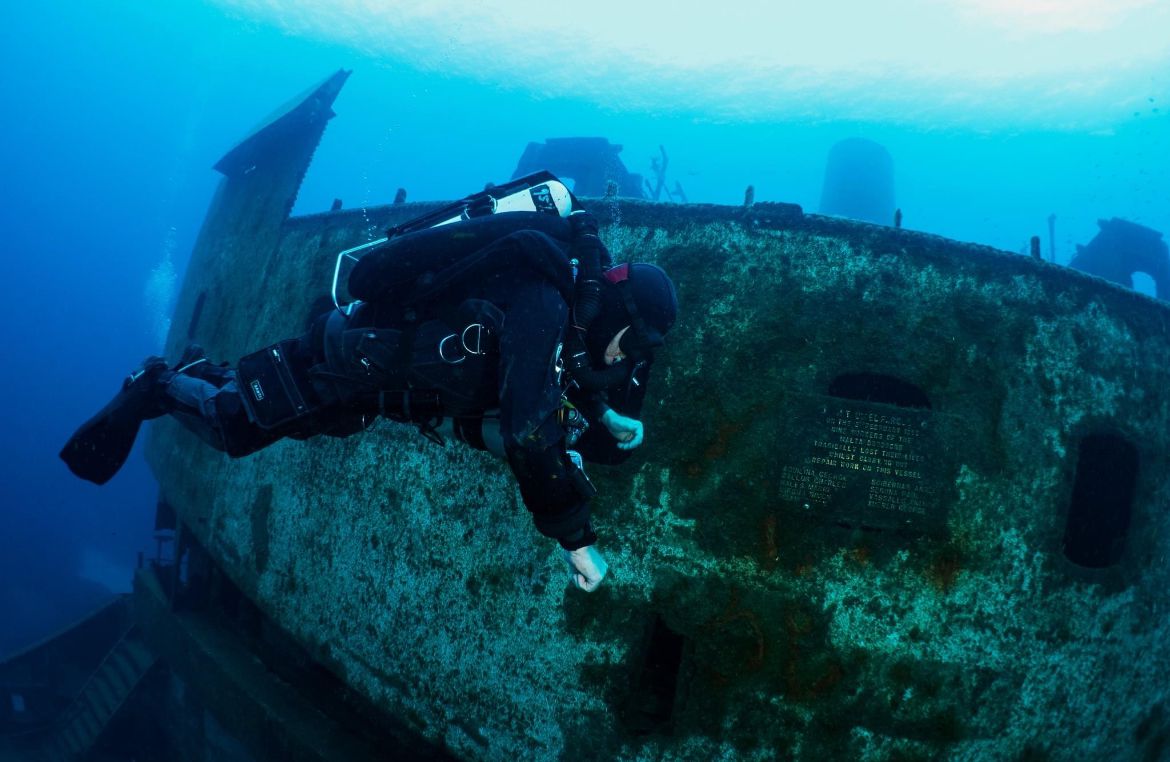
What remains of the bridge superstructure rises from the main deck. The structural steel frames are colonised by sponges and sea fans. Chromis and damselfish school in dense clouds around the vertical steelwork: some of the most photogenic marine life on the site.
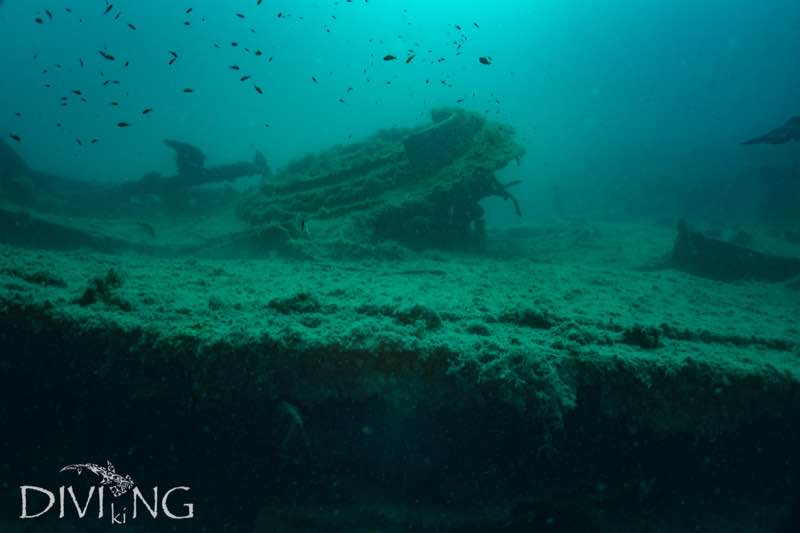
The aft end of the bow section shows the jagged fracture where the ship broke apart. The hull plating here is torn and twisted, creating shelter for marine life. A large resident grouper has made this area its territory for many years and reliably appears during dives.
Dense schools of chromis (both blue and brown varieties), resident barracuda, moray eels in the hull cavities, nudibranchs on the hull plating, and octopus in the crevices between deck fittings. Sponges, sea fans, and encrusting organisms coat every exposed steel surface in an 80-year layer of colour.
| Season | Conditions | Temp | Vis | Rating |
|---|---|---|---|---|
| Jan – Mar | Cold, clear water. Swell can affect the boat entry but visibility is excellent in winter. Less boat traffic. Drysuit recommended. | 14–16°C | 15–20m | Good |
| Apr – Jun | Water warming. Excellent conditions. Spring plankton bloom can reduce visibility briefly in May. Best months for underwater photography. | 17–22°C | 12–20m | Peak |
| Jul – Sep | Warm water, calm seas. Best for new divers and families. Visibility consistently excellent. Shore entry particularly easy in flat summer conditions. | 24–27°C | 15–20m | Peak |
| Oct – Dec | Cooling water, occasional autumn swell. Visibility generally good. Fewer visitors: often the best time for uncrowded wreck photography. | 17–24°C | 12–18m | Good |
Unlike the silt-heavy harbour wrecks, HMS Maori sits in comparatively open water at the entrance to Marsamxett Harbour. Visibility is consistently excellent by Maltese standards: 10 to 20 metres year-round. A mild harbour current can run parallel to the Fort St. Elmo breakwater but is rarely strong enough to affect the dive. Check conditions with diveshack before arrival. The site can be done as either a shore dive from the rocks below the fort or as a boat dive from Sliema.
Shore entry from the rocky foreshore below Fort St. Elmo: requires careful navigation to the water's edge. Alternatively, diveshack RIB from Sliema (approximately 20 minutes). Boat entry is recommended for first-time visitors to the site.
A mild harbour current runs along the breakwater at times. It is rarely strong, but can affect buoyancy control near the bow. diveshack guides will assess conditions before entry.
The bow section lies at 14–16m, making this a relaxed dive with ample no-decompression time. No-deco time at 16m on air exceeds 75 minutes, well beyond what is needed to explore the wreck. Nitrox is not necessary but extends comfort time.
Open Water minimum. The wreck lies entirely between 14 and 17 metres, well within OW limits. No prior wreck experience is required for the guided tour. Advanced divers can explore further from the guide with appropriate experience. No solo diving.
Shore access requires careful navigation over the rocky foreshore below Fort St. Elmo. Suitable footwear is essential: there are no steps, only flat rock. Boat access via diveshack RIB is easier and recommended for all divers carrying heavy equipment. diveshack arranges both options.
The Maori is an open wreck: there are no enclosed spaces requiring a torch to navigate. Hull openings are large and well-lit. However, a torch is strongly recommended for exploring hull cavities and for marine life photography. No ceiling diving is required.
A mild current occasionally runs along the breakwater face. If present, enter from the upstream side and plan an up-current return. diveshack guides carry DSMBs (delayed surface marker buoys) and will assess current before all dives. Do not free-surface swim in an active current.
At 16m, no-decompression time on air exceeds 75 minutes, far more than needed for a full exploration of the full wreck. Nitrox 32% is available from diveshack and is recommended for divers who wish to make multiple dives in the same day.
Mater Dei Hospital hyperbaric chamber, Msida, approximately 10 minutes by road from Valletta. Emergency: 112. DAN Europe: +39 06 4211 5685. diveshack carries full first aid and oxygen equipment on all boat dives.
One of the most historically significant wreck dives in the Mediterranean: the ship that helped sink the Bismarck. diveshack runs guided RIB dives to the Maori from our Sliema base, with shore dive options for experienced divers who prefer a self-contained approach.
Include this site in a package: